Great nano brows begin long before the needle touches the skin. Design is where symmetry, flow, and a client's trust are built, and it's the part of the process I love teaching most.
A thoughtful mapping kit is not about owning every tool on the market. It's about a few tools, known well and used with intention.
Here's what belongs in that kit, and why each one earns its place.
1. Mapping string
Mapping string finds the key points of the brow (start, arch, and tail) and connects them in clean, symmetrical lines.
Symmetry is the frame everything else sits inside. If the frame is off, even beautiful strokes look uneven. Pre-inked string marks both brows from the same reference points so they match.
2. Caliper or brow ruler
A caliper measures brow thickness and distances, and confirms that both sides align.
It also confirms what the eye already sees. Faces are naturally asymmetrical, and measurements help decide where to balance the brows and where to honor the client's natural features.
3. Mapping pencil
Once measurements are set, a mapping pencil draws the outer outline.
A clean, thin line gives strokes a clear boundary. A sharp pencil matters here, since a thick outline makes the final shape harder to judge.
4. Brow paste or concealer
Paste or concealer cleans up the edges of the outline and erases stray marks.
A crisp border lets the artist and client see the true shape without distraction, and makes it easy to refine the design without starting over.

5. Pre-draw pen
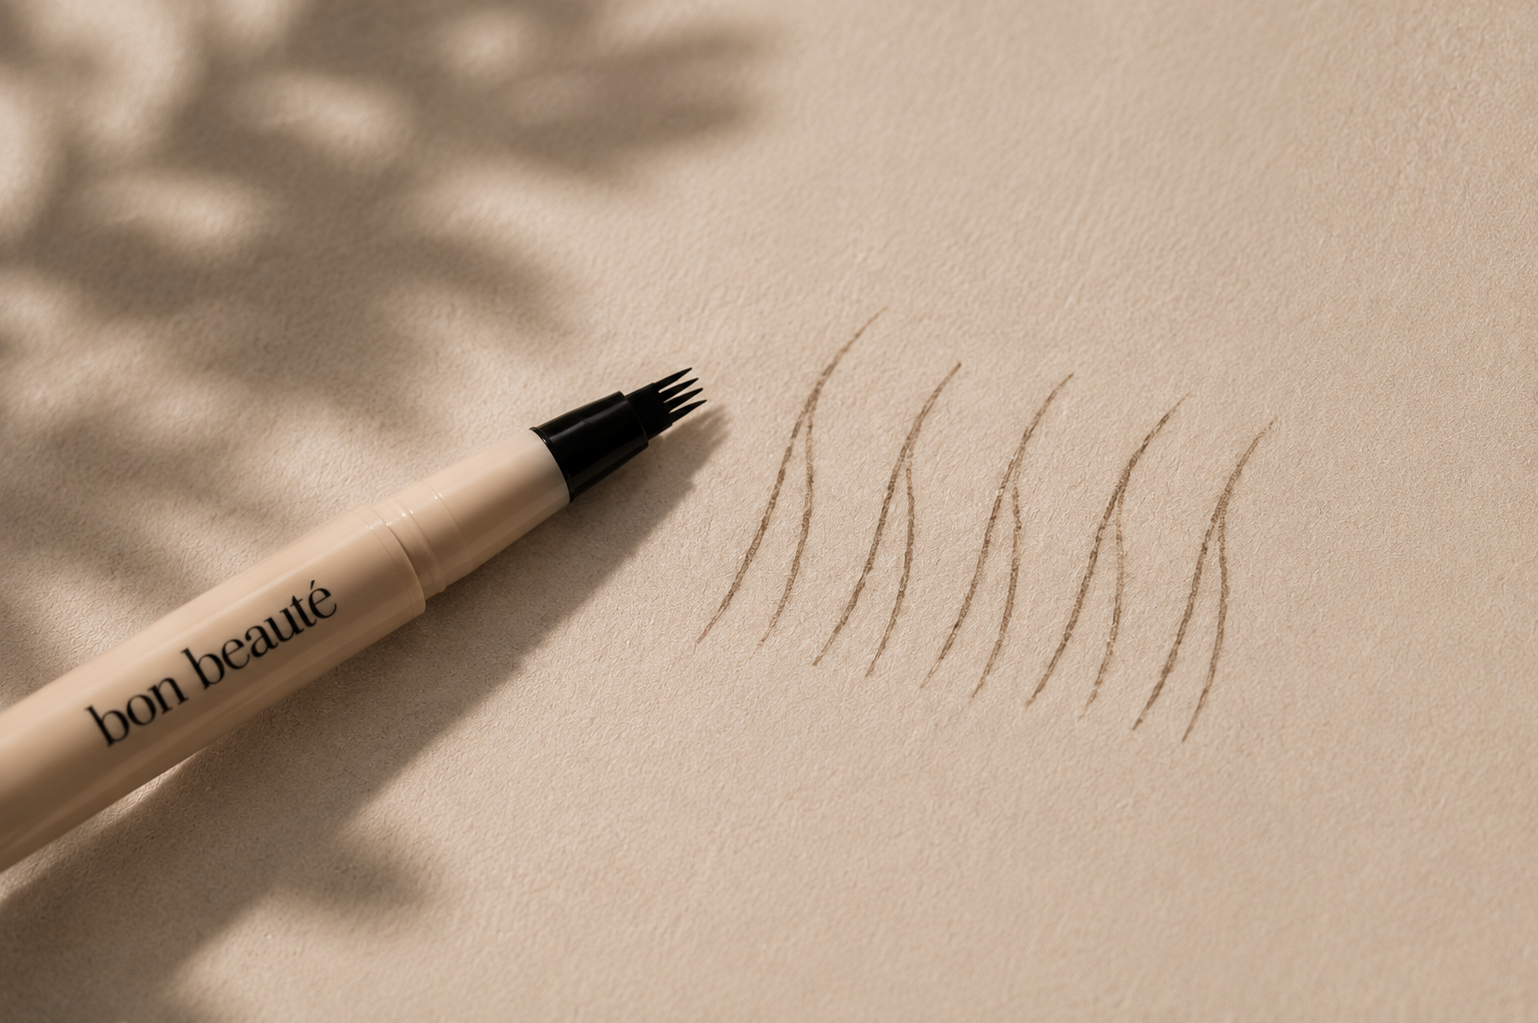
A pre-draw pen sketches individual hair strokes inside the outline before the procedure.
This is the step that changes the consultation most. Instead of asking a client to imagine the result inside an outline, the artist can show it. Stroke direction and flow are planned on the skin, and the client sees a close preview of their healed nano brows.
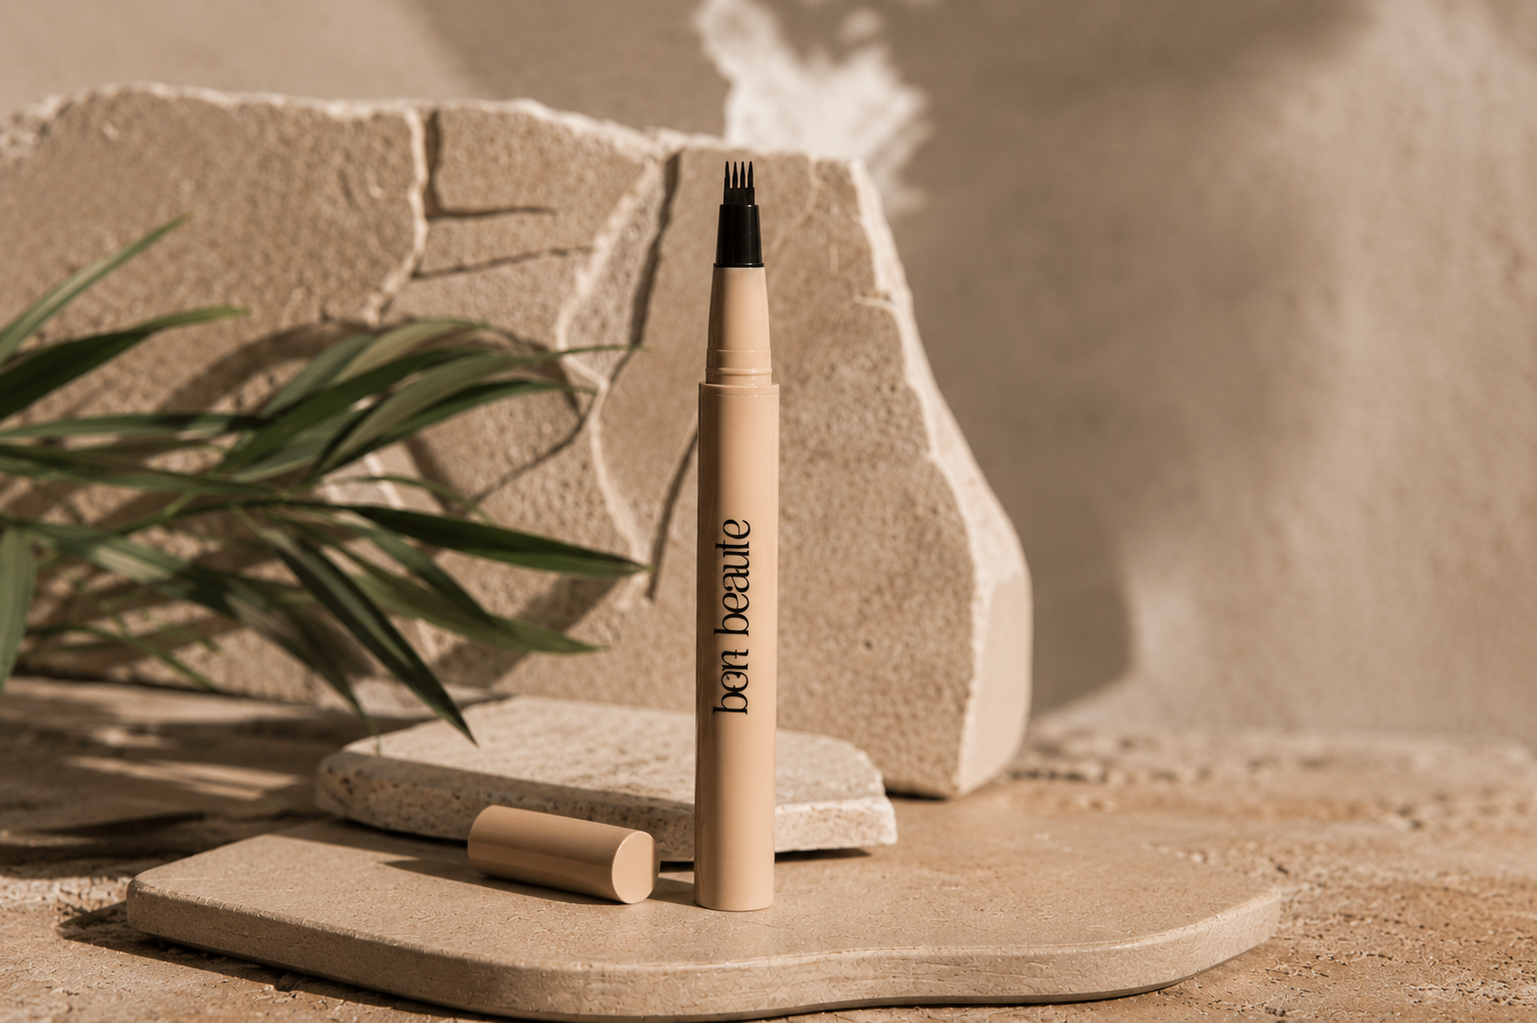
The Brow Ink Micro Pen was designed for exactly this. Its ultra-fine multi-prong tip draws realistic hair strokes, its natural brow tones make the preview believable, and its smudge-resistant formula holds through long consultations. It works for outlining powder brows too, though it's built for hair strokes first.
6. Good lighting and a hand mirror
Shadows hide asymmetry and flatten stroke detail. Bright, even light shows what's really there.
And the moment a client looks in the mirror and approves the design matters as much as any tool in the kit. That moment is not a formality. It's where trust is confirmed.
7. Small scissors, razor, and spoolie
A light cleanup of natural hairs outside the design keeps the shape clear. Stray hairs distract from the outline and can make the healed result look less defined.
8. Photos and notes
Photos and notes record the mapped design, measurements, and color choices.
They're the reference at the perfecting appointment and a record of how the work healed. Over time, they become an artist's best teacher.
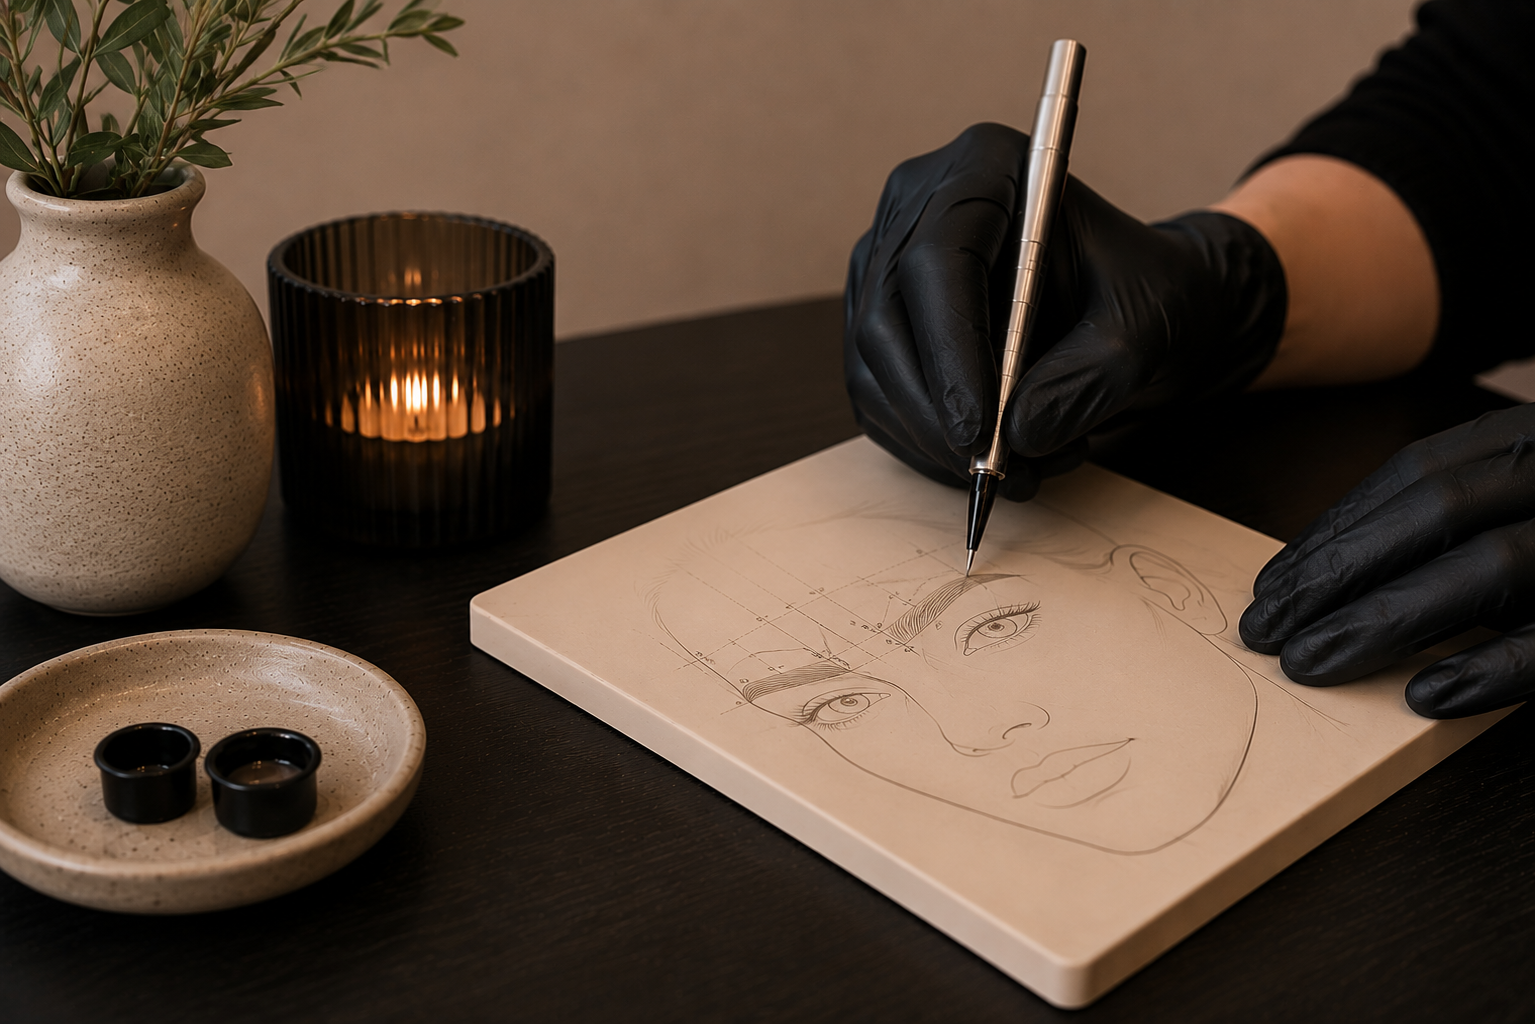
Tools help. Judgment does the rest.
No tool can decide where a brow should arch on a particular face, or how stroke flow should shift from front to tail. That comes from experience, patience, and learning to see the brow before designing it.
For experienced artists ready to refine their mapping and stroke design, the Advanced Nano Brow Mentorship at Bon Beauté is built around exactly that kind of growth. For more on designing with healed results in mind, read What Separates Good Nano Brows from Great Ones.
Measure carefully. Design intentionally. Let the skin have the final say.
Accepting applications for 2027
Ready to refine your healed results?
One-on-one advanced nano brow education with Vanessa Baird, built around the artist you already are.
Less noise. More discernment.